Effective Condition Monitoring: A Practical Guide for Maintenance Technicians

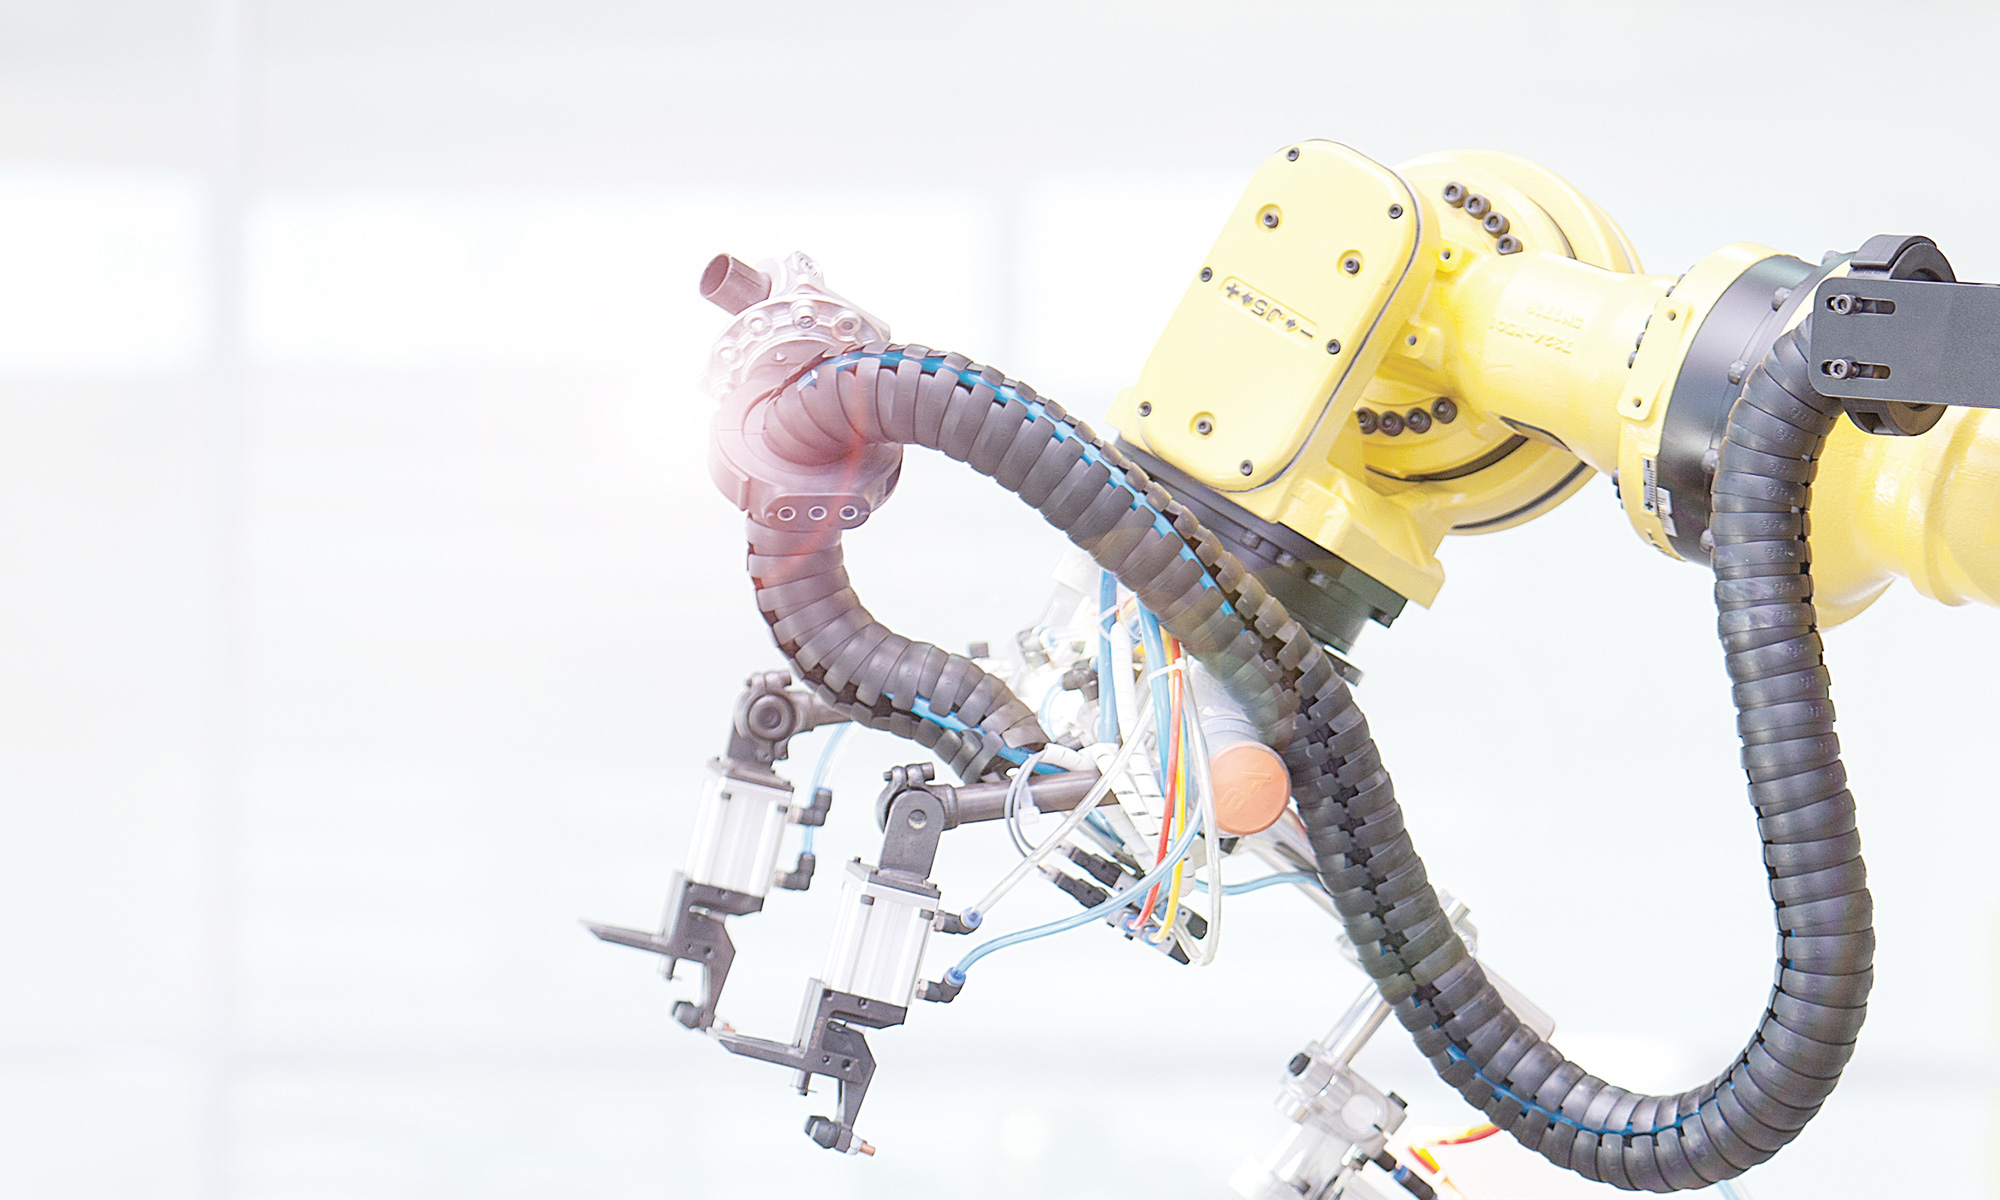
In my decade of experience supporting sales organizations as an application and product specialist across various industries, I’ve observed a common trend among customers: The majority tend to focus solely on vibration when it comes to condition monitoring for their assets. While vibration analysis is crucial for detecting mechanical component issues, it’s essential to recognize that it’s not the only method available. In this blog. I present a straightforward four-step process to guide maintenance technicians in implementing effective condition monitoring beyond vibration analysis.

Step 1: Identify critical assets. Begin by finding the key assets or machines in your plant that can significantly affect unplanned downtime if they were to fail. Understanding the critical components if the first step in establishing an effective condition-monitoring strategy.

Step 2: Determine failure modes. Once you know the critical assets, figure out the potential failure modes of each machine. Knowing how a machine might fail enables you to choose the most relevant sensing technology for monitoring specific parameters contributing to potential failures.

Step 3: Choose sensing technology. Consider the failure modes you found in Step 2 and choose the appropriate sensing technology to monitor the parameters relevant to each machine. This step involves thinking beyond vibration analysis and exploring solutions that address diverse factors such as:

    • Pressure
    • Flow
    • Level
    • Position
    • Load
    • Temperature
    • Humidity
    • Viscosity
    • Impurity/contamination

Step 4: Implement a monitoring solution. Before implementing the chosen solution across the entire plant, conduct a pilot test on one machine. This step allows you to evaluate the viability of the monitoring solution and ensures it aligns with the application needs. It’s a practical approach to minimize risks and optimize the effectiveness of your condition monitoring strategy.

Condition monitoring diversity

To emphasize the diversity of condition monitoring, consider scenarios where the vibration analysis falls short. For instance:

    • Hydraulic Power Unit: Use a level sensor to monitor oil levels in the tank, preventing failures due to leaks.
    • Air Compressor: Employ a pressure transducer and flow sensor to monitor air pressure and flow, addressing issues with a worn-out air pump.
    • Electrical Cabinets: Protect critical electrical components by using ambient temperature and humidity sensors to detect elevated temperatures or moisture ingress.

In conclusion, break free from the confines of relying solely on vibration analysis. By following this four-step process, maintenance technicians can tailor condition monitoring strategies to the unique needs of their plants. Explore diverse sensing technologies, implement pilot solutions, and ensure you are monitoring your assets comprehensively to mitigate risks and optimize performance.

Who Moved My Data? Part 2: Insourcing Condition Monitoring

In my previous blog on this topic, “Who Moved My Data? Outsourcing Condition Monitoring,” I established the case for condition-based monitoring of critical assets to ensure a reduction in unplanned downtime. I also explored the advantages and disadvantages of outsourcing condition monitoring from critical assets. Here I discuss the do-it-yourself (DIY) approach to condition monitoring and explore its advantages and disadvantages.

Understanding the DIY approach

Now, let me be clear to avoid any confusion, when I refer to “do it yourself,” I don’t mean literally doing it yourself. Instead, this is something you own and customize to fit your applications. It may require a fair amount of input from your maintenance teams and plants. It’s not a one-day job, of course, but an ongoing initiative to help improve productivity and have continuous improvements throughout the plant.

Advantages and disadvantages of DIY condition monitoring (insourcing)

Implementing the solutions for continuous condition monitoring of critical assets by yourself has many advantages, along with some disadvantages. Let’s review them.

Advantages of insourcing (DIY) condition monitoring:

    1. Data ownership: One of the greatest benefits or advantages of implementing the DIY approach to condition monitoring is the control it gives you over data. You decide where the data lives, how it is used, and who has access to it. As I emphasized in my previous blog and numerous presentations on this topic, “Data is king” – a highly valuable commodity.
    2. Flexibility and customization: Of course, the DIY solution is not a one-size-fits-all approach! Instead, it allows you to customize the solution to fit your exact needs – the parameters to monitor, the specific areas of the plant to focus on the critical systems and the method of monitoring. You choose how to implement the solutions to fit your plant’s budget.
    3. Low long-term costs: As you own the installations, you own the data and you own the equipment; you don’t need to pay rent for the systems implemented through outsourcing.
    4. The specification advantage: As a plant or company, you can add condition monitoring features as specifications for your next generation of machines and equipment, including specific protocols or components. This allows you to collect the required data from the machine or equipment from the get-go.

Disadvantages of insourcing (DIY) condition monitoring:

    1. High upfront cost: Implementing condition monitoring with a data collection system may involve higher upfront costs. This is because there is a need to invest in data storage solutions, engage experts for condition monitoring implementation (typically from an integration house or through self-integration), and employ developers to create or customize dashboards to fit user needs.
    2. Limited scalability: collecting more data requires additional storage and enhanced analytics capabilities, especially when transitioning from condition-based maintenance to predictive analytics. Designing your own solution with limited budgets may hamper the scalability of the overall system.
    3. Infrastructure maintenance: This is another area that requires close attention. Whether the infrastructure is located on-premises, centralized, or in the cloud, the chosen location may require investments in manpower for ongoing maintenance.

Another point to emphasize here is that opting for a DIY solution does not preclude the use of cloud platforms for data management and data storage. The difference between insourcing and outsourcing lies in the implementation of condition monitoring and related analytics – whether it’s carried out and owned by you or by someone else.

Strategic decision-making: beyond cost considerations

The final point is not to make outsourcing decisions solely based on cost. Condition-based monitoring and the future of analytics offer numerous advantages, and nurturing an in-house culture could be a great source of competitive advantage for the organization. You can always start small and progressively expand.

As always, your feedback is welcome.

Boosting Sensor Resilience in Welding With Self-Bunkering Inductive Proximity Sensors

A welding cell will press the limits of any sensor placed in its proximity. Avoiding weld spatter, magnetic fields, extreme temperatures, and impact damage are common challenges in a harsh welding environment. And when sensors fail in these conditions, it can significantly disrupt production uptime. To prevent such disruptions, manufacturers explore more robust sensor mounting solutions, such as proximity mounts, bunker blocks, and other protective devices to shield sensors from these harsh conditions. The self-bunkering inductive proximity sensor plays a key role in alleviating the issues, especially in situations where other accessories are not an option due to limited space.

Weld spatter and magnetic field resistant

In many welding applications, the substantial currents involved can generate heightened magnetic fields, making a welding cell vulnerable to interference. This interference can lead a basic proximity sensor to trigger, even though a part may not be present. The self-bunkering proximity sensor is designed to resist magnetic fields, allowing it to work much closer to the welding surface than a typical inductive sensor. Additionally, the sensor comes with a polytetrafluoroethylene (PTFE) weld coating, allowing for easy removal of the spatter buildup with abrasive tools like a wire brush.

Guard against heavy impacts

Again, the self-bunkering inductive proximity sensor is built for rugged environments. It features a thick, strong one-piece connector body and super thick brass housing to buffer the internal electronics from external impacts and conductive heat. It also includes a deflection ring and a non-brittle, ferrite-free coil carrier to protect the sensor face from direct impacts, disperse shock, and safeguard internal sensing components. The wide-radius corners offer stress relief at the major junction points of the connector body and housing.

Withstand extreme temperatures

With a ceramic PTFE-coated face plate, the sensor can resist up to 2200°F weld spatter burn through from the front. The rest of the body, coated with PTFE and paired with an extra-thick brass housing, provides protection for the sensor up to 300°F. This means that if the sensor is properly maintained, its lifetime should be quite a bit longer than a standard inductive sensor.

Don’t replace, defend

The core components of the proximity sensor can be destroyed if any of the three critical failures – conducted heat, impact, or spatter – occur in combination. To prevent this, the product incorporates a collection of design measures intended to create a virtually impenetrable shield around the internal critical components.

In summary, the self-bunkering inductive proximity sensor is a key solution to combat the challenges sensors face in harsh welding environments that will ultimately disrupt production. Its resistance to magnetic fields and ability to withstand heavy impacts and extreme temperatures, especially in situations with limited space, ensures the protection of the critical sensor components and extended sensor lifespan.

Exploring the Significance of CIP Safety in Automation Protocols

CIP Safety is a communication protocol used in industrial automation to ensure the safety of machinery, equipment, and processes. It is a part of the larger family of protocols known as the Common Industrial Protocol (CIP) developed by ODVA, a global trade and standard development organization.

The primary goal of CIP Safety is to enable the safe exchange of data between safety devices, controllers, and other components within an industrial automation system. This protocol allows for real-time communication of safety-related information, such as emergency stops, safety interlocks, and safety status, between various devices in a manufacturing or processing environment.

Key features and concepts of CIP Safety

    • Safety communication: CIP Safety is designed to provide fast and reliable communication for safety-critical information. It ensures that safety messages are transmitted and received without delays, ensuring that safety actions are executed promptly.
    • Deterministic behavior: Determinism is a crucial aspect of safety systems, as it ensures that safety messages are transmitted predictably and with low latency. This helps in reducing the risk of accidents and ensuring the proper functioning of safety mechanisms.
    • Redundancy and fault tolerance: CIP Safety supports redundancy and fault tolerance, allowing for the implementation of systems that can continue operating safely even in the presence of hardware or communication failures.
    • Safe states and actions: The protocol defines various safe states that a system can enter in response to safety-related events. It also specifies safe actions that controllers and devices can take to prevent or mitigate hazards.
    • Device integration: CIP Safety can be integrated with other CIP protocols, such as EtherNet/IP, enabling seamless integration of safety and standard communication on the same network.
    • Certification: Devices and systems that implement CIP Safety are often required to undergo certification processes to ensure their compliance with safety standards and their ability to perform in critical environments.
    • Flexibility: CIP Safety is designed to accommodate various levels of safety requirements, from simple safety tasks to more complex and sophisticated safety functions. This flexibility makes it suitable for a wide range of industrial applications.

CIP Safety has been widely adopted in industries such as manufacturing, automotive, energy, and more, where ensuring the safety of personnel, equipment, and processes is of paramount importance. It allows for the integration of safety systems into the overall control architecture, leading to more efficient and streamlined safety management within industrial environments.

Examples of connections with an external CIP Safety Block

Learn more at https://www.balluff.com/en-us/products/areas/A0007/groups/G0701/products/F07103?page=1&perPage=10&availableFirst=true

Exploring Industrial Cameras: A Guide for Engineers in Life Sciences, Semiconductors, and Automotive Fields 

In the bustling landscape of industrial camera offerings, discerning the parameters that genuinely define a camera’s worth can be a daunting task. This article serves as a compass, steering you through six fundamental properties that should illuminate your path when selecting an industrial camera. While the first three aspects play a pivotal role in aligning with your camera needs, the latter three hold significance if your requirements lean towards unique settings, external conditions, or challenging light environments.

    1. Resolution: unveiling the finer details. Imagine your camera as a painter’s canvas and resolution as the number of dots that bring your masterpiece to life. In simple terms, resolution is the number of pixels forming the image, determining its level of detail. For instance, a camera labeled 4096 x 3008 pixels amounts to a pixel symphony of around 12.3 million, or 12.3 megapixels. Yet don’t be swayed solely by megapixels. Focus on the pixel count on both the horizontal (X) and vertical (Y) axes. A 12-megapixel camera might sport configurations like 4000 x 3000 pixels, 5000 x 2400 pixels, or 3464 x 3464 pixels, each tailor-made for your observation intent and image format.
    1. Frame rate: capturing motion in real-time. The frame rate, akin to a movie’s frame sequence, dictates how swiftly your camera captures moving scenes. With figures like 46.5/74.0/135 denoting your camera’s capabilities, it reveals the number of images taken in different modes. Burst mode captures a rapid series of images, while Max. streaming ensures a consistent flow despite interface limitations. The elegance of Binning also plays a role, making it an adept solution for scenarios craving clarity in dim light and minimal noise.
    1. Connectivity: bridging the camera to your system. The camera’s connectivity interfaces, such as USB3 and GigE, shape its rapport within your system.

USB3 Interface: Like a speedy expressway for data, USB3 suits real-time applications like quality control and automation. Its straightforward nature adapts to diverse setups.

GigE Interface: This Ethernet-infused interface excels in robust, long-distance connections. Tailored for tasks like remote monitoring and industrial inspection, it basks in Ethernet’s reliability. Choosing the best fit: USB3 facilitates swift, direct communication, while GigE emerges triumphant in extended cable spans and networking. Your choice hinges on data velocity, distance, and infrastructure compatibility.

    1. Dynamic range: capturing radiance and shadow. Imagine your camera as an artist of light, skillfully capturing both dazzling radiance and somber shadows. Dynamic range defines this ability, representing the breadth of brightness levels the camera can encapsulate. Think of it as a harmony between light and dark. Technical folks may refer to it as the Ratio of Signal to Noise. It’s influenced by the camera’s design and the sensor’s performance. HDR mode is also worth noting, enhancing contrast by dividing the integration time into phases, each independently calibrated for optimal results.
    1. Sensitivity: shining in low-light environments. Your camera’s sensitivity determines its prowess in low-light scenarios. This sensitivity is akin to the ability to see in dimly lit spaces. Some cameras excel at this, providing a lifeline in settings with scarce illumination. Sensitivity’s secret lies in the art of collecting light while taming noise, finding the sweet spot between clear images and environmental challenges.
    1. Noise: orchestrating image purity. In the world of imagery, noise is akin to static in an audio recording—distracting and intrusive. Noise takes multiple forms and can mar image quality:

Read noise: This error appears when converting light to electrical signals. Faster speeds can amplify read noise, affecting image quality. Here, sensor design quality is a decisive factor.

Dark current noise: Under light exposure, sensors can warm up, introducing unwanted thermal electrons. Cooling methods can mitigate this thermal interference.

Patterns/artifacts: Sometimes, images bear unexpected patterns or shapes due to sensor design inconsistencies. Such artifacts disrupt accuracy, especially in low-light conditions. By understanding and adeptly managing these noise sources, CMOS industrial cameras have the potential to deliver superior image quality across diverse applications.

In the realm of industrial cameras, unraveling the threads of resolution, frame rate, connectivity, dynamic range, sensitivity, and noise paints a vivid portrait of informed decision-making. For engineers in life sciences, semiconductors, and automotive domains, this guide stands as a beacon, ushering them toward optimal camera choices that harmonize with their unique demands and aspirations.

Mastering IO-Link: Best Practices for Seamless Industrial Automation Integration

IO-Link is a versatile communication protocol for use in industrial automation to connect sensors and actuators to control systems. Here are some best practices to consider when implementing IO-Link in your automation setup:

Device selection: Choose IO-Link devices that best fit your application’s requirements. Consider factors such as sensing range, accuracy, ruggedness, and compatibility with your IO-Link master and network. Look to see if add-on Instructions and/or function blocks are available for ease of integration.

Network topology: Design a clear and well-organized network topology. Plan the arrangement of IO-Link devices, masters, and other components to minimize cable lengths and optimize communication efficiency. Remember that the maximum distance for an IO-Link device is 20 meters of cable from the IO-Link master.

Standardized cable types: Use standardized IO-Link cables to ensure consistent and reliable connections. High-quality cables can prevent signal degradation and communication issues. Pay careful attention to the needs of the IO-Link device. Some devices require 3, 4, or 5 conductors in the associated cable.

Parameterization and configuration: Take advantage of IO-Link’s ability to remotely configure and parameterize devices. This simplifies setup and makes it possible to change device settings without physically accessing the device. Learn how to take advantage of the IO-Link master’s parameter server functionality.

Centralized diagnostics: Use the diagnostic capabilities of IO-Link devices to monitor health, status, and performance. Centralized diagnostics can help identify issues quickly and enable predictive maintenance. Of the three types of IO-Link data, pay attention to the event data.

Remote monitoring and control: Leverage IO-Link’s bi-directional communication to remotely monitor and adjust devices. This can improve operational efficiency by reducing the need for manual intervention.

Error handling: Implement error handling mechanisms to respond to communication errors or device failures. This could include notifications, alarms, and fallback strategies.

Network segmentation: If you have a large and complex automation setup, consider segmenting your IO-Link network into smaller sections. This can help manage network traffic and improve overall performance.

Training and documentation: Provide training for your team on IO-Link technology, best practices, and troubleshooting techniques. Create documentation that outlines network layouts, device addresses, and configuration details.

Testing and validation: Thoroughly test IO-Link devices and their interactions before deploying them in a production environment. This can help identify potential issues and ensure proper functionality.

Scalability: Plan for future expansion by designing a scalable IO-Link network. Consider how easily you can add new devices or reconfigure existing ones as your automation needs evolve.

Vendor collaboration: Collaborate closely with IO-Link device manufacturers and IO-Link master suppliers. They can provide valuable insights and support during the planning, implementation, and maintenance stages.

By following these best practices, you can optimize the implementation of IO-Link in your industrial automation setup, leading to improved efficiency, reliability, and ease of maintenance.

Click here to learn more about using IO-Link to improve process quality.

From Wired to Wireless Automation Advancements in Automotive Manufacturing

Looking back, the days of classic muscle cars stand out as a remarkable period in automotive history. Consider how they were built, including every component along the assembly line connected through intricate wiring, resulting in prolonged challenges related to both wiring and maintenance. Advancements in technology led to the introduction of junction blocks, yet this didn’t entirely solve the persistent problems associated with time and connections.

In the mid-2000s, a collaborative effort among multiple companies resulted in the development of the IO-Link protocol. This protocol effectively tackled the wiring and maintenance issues. Since its inception, IO-Link has continued to progress and evolve.

In 2023, we’re taking the next step with a wireless IO-Link master block.

In modern manufacturing, the process involves using independently moving automated guided vehicles (AGVs), also known as skillets. These AGVs are responsible for performing various tasks along the production line before completing their circuit and returning to their initial position. Initially, when these AGVs were integrated, each of these skillets was equipped with a programmable logic controller (PLC), which incurred significant expenses and extended the setup time. Additionally, the scalability of this system was limited by the available IP addresses for the nodes.

Demand for wireless IO-Link blocks

In recent years, there has been a growing demand for wireless IO-Link blocks. Now, a solution to meet this demand is available. The wireless IO-Link block works in a manner similar to the existing current blocks but without the need for a PLC, simplifying wiring and using existing Wi-Fi infrastructure.

Imagine a conveyor scenario where numerous AGVs follow a designated path, each with a hub attached. The setup would look something like this: up to 40 hubs communicating simultaneously with a central master. Each hub has the capacity to accommodate up to eight connected devices, resulting in a total of 320 distinct IO points managed by a single IO-Link master.

Communication among these blocks employs a protocol akin to that of a cell phone. As an AGV transitions from one master hub to another, it continues to transmit its data. Within each hub, an identity parameter not only designates the specific hub but also identifies the associated skillets and the location within the manufacturing plant.

Transitioning to a wireless system leads to a substantial reduction in your overall cost of ownership. This includes decreased setup times, simplified troubleshooting, lower maintenance efforts, and a reduced need for spare parts.

We are in an exciting time of technological advancement. Make sure you are moving alongside us!

Enhancing Manufacturing Efficiency: OEE Measurement Through Sensors

Optimizing operational efficiency in manufacturing is crucial for businesses seeking to stay competitive. One powerful tool for measuring and enhancing manufacturing performance is overall equipment effectiveness (OEE). By leveraging sensor technology, manufacturers can gain valuable insights into their production processes, enabling them to identify areas for improvement, reduce downtime, and boost overall productivity.

What is OEE?

OEE is a metric for measuring the efficiency and productivity of a manufacturing process, including three key factors: availability, performance, and quality. Availability measures the percentage of time that equipment is available for production, while performance measures the speed at which the equipment runs. Quality measures the rate of products that meet the required quality standards. Combining these factors, OEE provides a comprehensive view of how well a manufacturing process performs and can help determine the need for improvements.

Sensors: the building blocks of OEE measurement

Sensors play an important role in helping manufacturers determine the effective use of equipment. Following are some key metrics that sensors can track:

    • Machine health monitoring: Sensors can continuously monitor the condition of machines, detecting anomalies and potential breakdowns before they escalate. Predictive maintenance, facilitated by sensor data, helps reduce unplanned downtime, increasing equipment availability.
    • Production tracking: Sensors can track production rates and cycle times, comparing them to target rates. This data empowers businesses to assess equipment performance and identify bottlenecks that hinder optimal efficiency.
    • Quality control: Implementing sensors for real-time quality inspection ensures the prompt identification and removal of defective products from the production line, enhancing the overall quality factor in the OEE calculation.
    • Downtime analysis: Sensors can log and categorize downtime events, providing valuable insights into the root causes of inefficiencies. With this knowledge, manufacturers can implement targeted improvements to reduce downtime and enhance availability.
    • Energy efficiency: Some advanced sensors can monitor energy consumption, allowing businesses to optimize energy usage and contribute to sustainability efforts.

Integrating sensors and OEE measurement

The integration of sensors into the manufacturing process might seem daunting, but it offers numerous benefits that far outweigh the initial investment:

    • Real-time insights: Sensors provide real-time data, enabling manufacturers to monitor performance, quality, and availability metrics continuously. This empowers businesses to take immediate action when issues arise, minimizing the impact on production.
    • Data-driven decision-making: By analyzing sensor-generated data, manufacturers can make informed decisions about process improvements, equipment upgrades, and workforce optimization to enhance OEE.
    • Continuous improvement: OEE measurement with sensors fosters a culture of continuous improvement within the organization. Regularly reviewing OEE data and setting improvement goals drives teams to work collaboratively towards boosting overall efficiency.
    • Increased competitiveness: Manufacturers leveraging sensor-driven OEE measurement gain a competitive edge by optimizing productivity, minimizing downtime, and producing high-quality products consistently.

Measuring OEE using sensors is crucial to achieving operational excellence in modern manufacturing. Using real-time sensor data, manufacturers can identify areas for improvement, reduce waste, and boost productivity. Integrating OEE and sensor technology streamlines production processes and encourages continuous improvement. This approach helps manufacturers stay ahead in the ever-changing industrial landscape.

Read the Automation Insights blog Improving Overall Equipment Effectiveness to learn about the focus areas for winning the biggest improvements in OEE.

Revisiting the Key Points of IO-Link

IO-Link is a communication protocol for use in industrial automation systems to connect sensors and actuators to a central control system. It provides a standardized interface for the communication and configuration of devices, allowing for seamless integration and easy parameterization.

Here are some key points about IO-Link

    • Communication: IO-Link uses a point-to-point serial communication link between the IO-Link master and the IO-Link devices (sensors or actuators). Typically, the communication occurs over a standard 3-wire sensor cable.
    • Master/device architecture: The IO-Link system consists of an IO-Link master, which serves as a gateway between the IO-Link devices and the control system. The IO-Link master can connect to multiple IO-Link devices in a network.
    • Device identification: On the network, each IO-Link device uniquely identifies itself. When the devices connect to the IO-Link master, it automatically recognizes the device and communicates its parameters and capabilities to the master.
    • Configuration and parameterization: IO-Link allows for easy configuration and parameterization of connected devices. Through the master, the control system can read and write device parameters, such as sensor ranges, output behavior, and diagnostic information.
    • Data exchange: IO-Link supports the exchange of process data, event data, and service data. Process data is the primary information exchanged between the device and the control system primarily exchange process data, which represents the measured or controlled variables. Status and diagnostic information make up the event data, while configuration and parameterization use the service data.

Overall, IO-Link offers a flexible and standardized communication platform for connecting sensors and actuators in industrial automation systems. Its ease of use, configurability, and diagnostic capabilities make it a popular choice for modern industrial applications.

Click here for some IO-Link application examples.

Waterways: the Many Routes of Water Detection


Water is everywhere, in most things living and not, and the amount of this precious resource is always important. The simplest form of monitoring water is if it is there or not. In your body, you feel the effects of dehydration, in your car the motor overheats, and on your lawn, you see the dryness of the grass. What about your specialty machine or your assembly process? Water and other liquids are inherently clear so how do you see them, especially small amounts of it possibly stored in a tank or moving fast? Well, there are several correct answers to that question. Let’s dive into this slippery topic together, pun intended.

While mechanical float and flow switches have been around the longest, capacitive, photoelectric, and ultrasonic sensors are the most modern forms of electronic water detection. These three sensing technologies all have their strong points. Let’s cover a few comparisons that might help you find your path to the best solution for your application.

Capacitive sensors

Capacitive sensors are designed to detect nonferrous materials, but really anything that can break the capacitive field the sensor creates, including water, can do this. This technology allows for adjustment to the threshold of what it takes to break this field. These sensors are a great solution for through tank level detection and direct-contact sensing.

Ultrasonic sensors

Want to view your level from above? Ultrasonic sensors give you that view. They use sound to bounce off the media and return to the sensor, calculating the time it takes to measure distance. Their strong point is that they can overcome foam and can bounce off the water where light struggles when there is a large distance from the target to the receiver. Using the liquid from above, ultrasonics can monitor large tanks without contact.

Photoelectric sensors

Use photoelectric sensors when you’re looking at a solution for small scale. Now, this might require a site tube if you are monitoring the level on a large tank, however, if you want to detect small amounts of water or even bubbles within that water, photoelectric sensors are ideal. Using optical head remote photoelectric sensors tied to an amplifier, the detail and speed are unmatched. Photoelectric sensors are also great at detecting liquid levels on transparent bottles. In these applications with short distances, you need speed. Photoelectric sensors are as fast as light.

So, have you made up your mind yet? No matter which technology you choose, you will have a sensor that gives you accurate detail and digital outputs and is easy on the budget. Capacitive, ultrasonic, and photoelectric sensors provide all this and they grow with your application with adjustability.

Liquids are everywhere and not going away in manufacturing. They will continue to be an important resource for manufacturing.  Cherish them and ensure you account for every drop.