Picture this scenario. You, your spouse, or one of your kids happens to be riding one night in the middle of nowhere when a tire blows on the car. First, we can only hope that your loved one remembered the lesson they received on how to change a flat tire in a pinch (if we gave it to them in the first place), because on this particular night, there’s no cell coverage where they’re at, AAA isn’t going to get to them very quickly, there isn’t a can of Flat Fix in the trunk, and there isn’t much traffic on the road they’re traveling on for a good Samaritan to likely show up any time soon (the scenario is extreme, but not impossible). The jack kit sitting under the spare tire is going to seem pretty doggoned important, don’t you think?
We take a lot for granted these days and for those of us who have been involved in the world of factory automation for many years, getting to work with customers to help solve Error-Proofing challenges on the plant floor is like one big “Class Trip” every single day! It’s kind of like providing our customers with “toys for adults”. And it’s a real hoot. We get to see how stuff is made, get the opportunity to help manufacturers build better products through our Error-Proofing sensing technologies and learn over time which end products to buy and which ones to shy away from! We also quickly realize the extreme importance of the DETAIL! Like the components in the emergency jack kit! What if the main handle was missing when you or your relative went to jack up the car? What if there wasn’t any grease on the main lift shaft threads and the car couldn’t be raised? What if other parts were missing from the kit? Not a good scenario.
The company that makes the jack kit has a phenomenal amount of processes going on in-house. They stamp the raw metal that makes up the kit components, coat/paint all the components, machine threads and other areas of the jack, robotically assemble the kits of different configuration, print the labels and ship these to a multitude of automotive people for a large assortment of vehicles (these are all pretty much vehicle-specific kits). Even the labels are in different languages because certain models are being exported to different countries. Every detail is important in this little kit that could potentially bail a person out of a bad situation, yet may never be used in the lifetime of the vehicle. Kind of an “Unsung Hero” component!
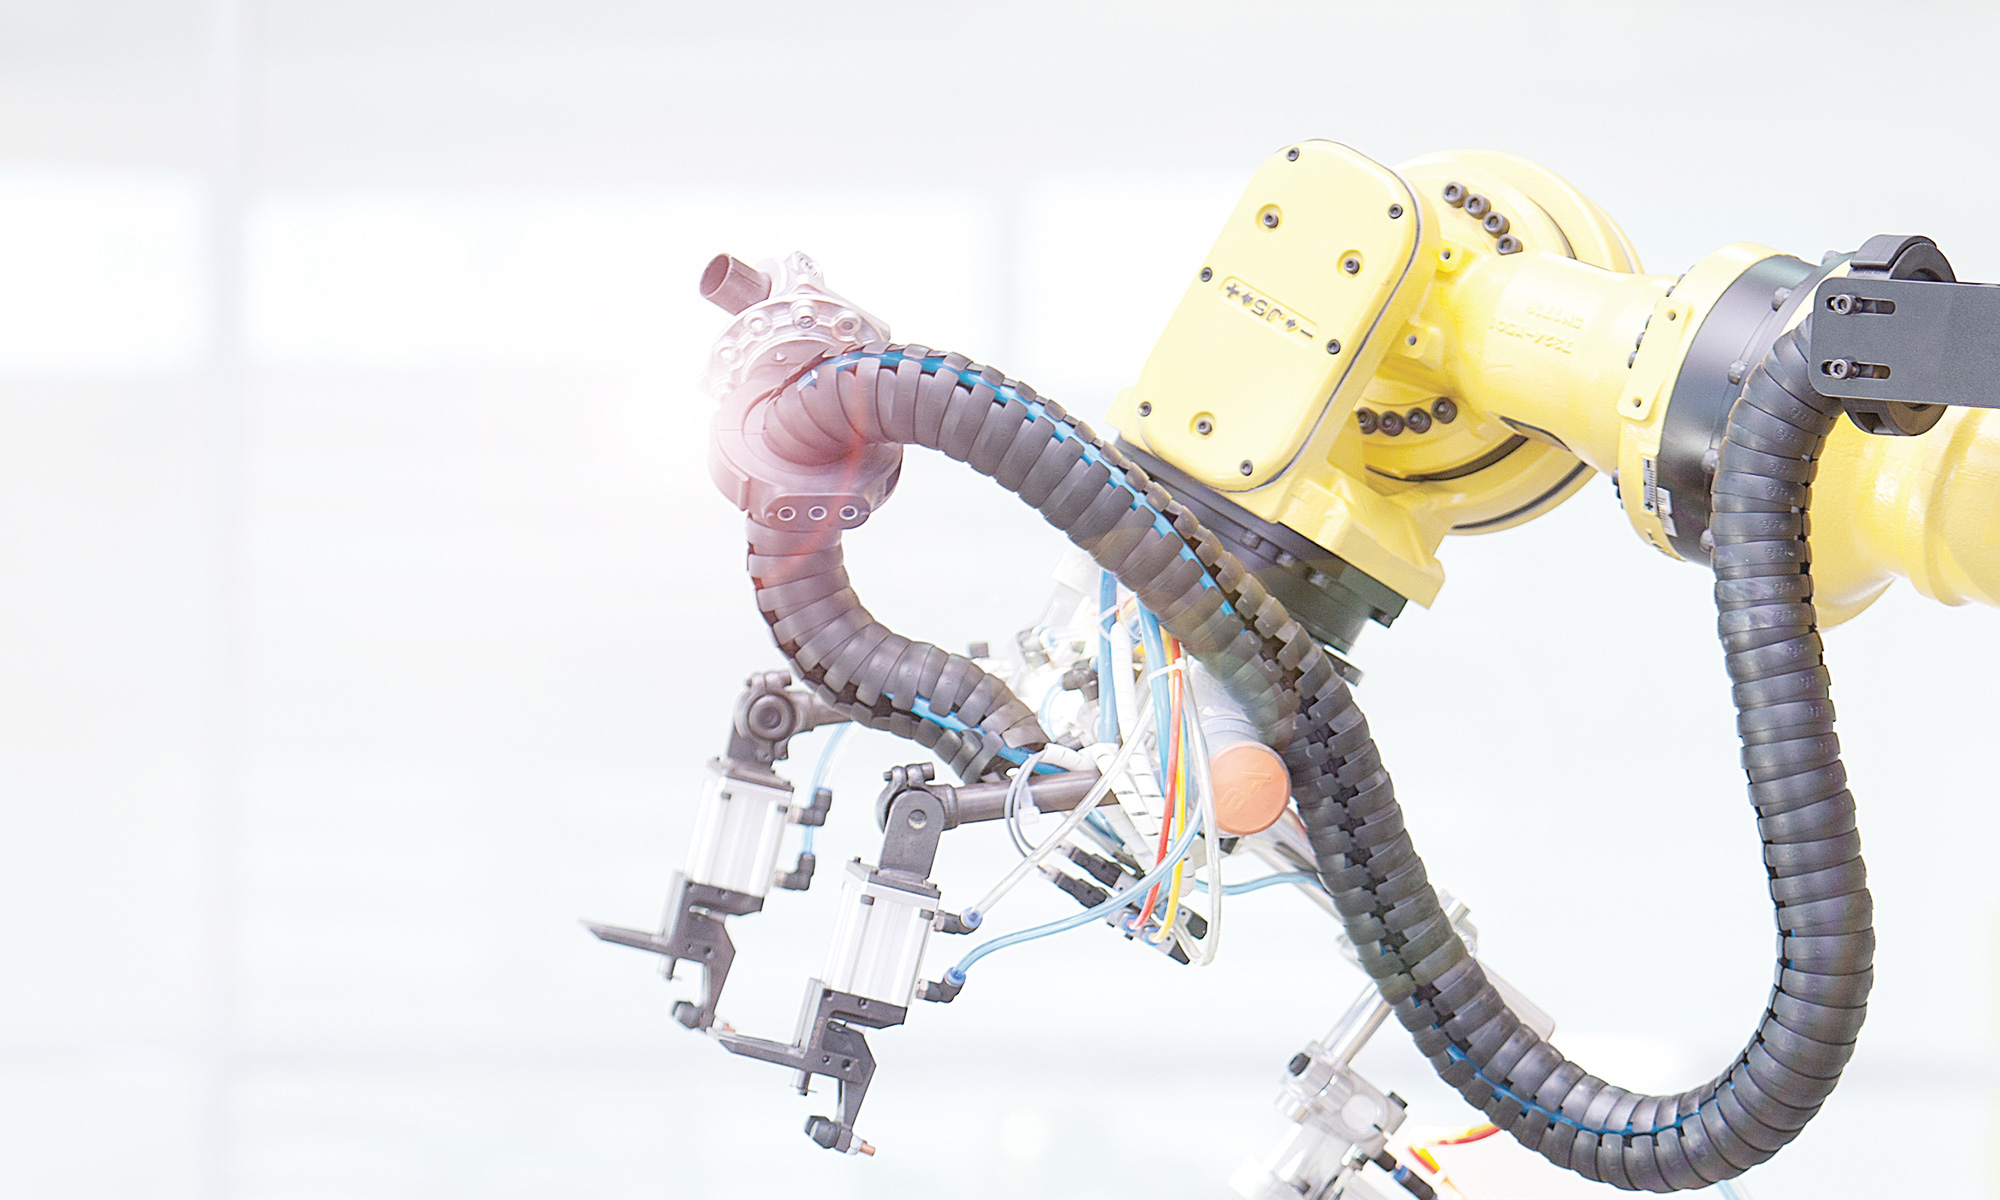
In the picture below of the assembled car jack kit, how many error proofing sensors do you see checking for completeness of the jack kit? If you answered eight (8) you’re correct!

Going right to left:
- The black box you see on the extreme right is a luminescence sensor that is sensing the “glow” given off by the ultraviolet properties in the grease (many grease products naturally have luminescent properties), so we’re sure that the shaft threads were lubricated.
- Above and to the immediate left of the UV sensor is a small block style diffuse reflective sensor with BGS (Background Suppression) properties that validates the presence and location of the safety label on the jack.
- Again to the left and near center, just under the end of the aluminum extrusion is a color sensor, validating the yellow safety header on the jack’s label.
- In the rear side of the extrusion is an inductive proximity sensor, M18 in size, validating the presence of a lock clip, used to support the two ends of the jack’s screw handle. Finding this feature confirms that both pieces of the jack’s primary crank handle is present, a most vital part of the kit.
- Extreme right and rear of the kit is a blue M18 capacitive sensor confirming the presence and proper alignment of the polyurethane jack kit mold that all of the components fit into (if it’s not aligned properly, the presence of other components might be missed).
- Extreme left and rear of the kit is another blue M18 capacitive sensor confirming the presence and proper alignment of the polyurethane on the left side.
- Extreme left and over the kit is an M18 tubular photoelectric, diffuse reflective sensor detecting the presence and proper seating of an accessory in the kit.
- Same sensor location is a second M18 diffuse reflective tubular photoelectric sensor with BGS (background suppression) confirming the presence of the yellow Glyptol coating on the accessory handle.
Vision sensing was being considered for detecting proper languages on the safety labels.
